DISCOVERY SPORT KEY PROGRAMMING REMOTE FUNCTION ACTUATOR Replacment
Saturday, July 9, 2022
KEY PROGRAMMING
GENERAL PROCEDURES
GENERAL EQUIPMENT
| EQUIPMENT NAME |
|---|
| Jaguar Land Rover approved battery support unit |
| Jaguar Land Rover approved diagnostic equipment |
PROGRAMMING
NOTES:
-
To program keys to the vehicle either 2 already programed keys need to be present or the Telematic Control Unit Module (TCU) needs to be placed into Service Mode. This allows new keys to be programed to the vehicle without replacing the Remote Function Actuator (RFA).
-
- The 'Service Mode' feature is not available on North American Specification (NAS) market vehicles.
- Before disconnecting power to the the vehicle, the owner must place the TCU into 'Service Mode'. The 'Service Mode' disables all alert triggers, except movement alert.
- This must be done for example when disconnecting the startup battery to do maintenance repairs.
- For security purposes 'Service Mode' is the sole responsibility of the vehicle owner as it requires a Personal Identification Number (PIN) code that has been defined by the owner.
- Disconnect the startup battery ground cable.
Refer to: 12V System Disconnect (414-00 Battery and Charging System - General Information, General Procedures).


INSTALLATION
-
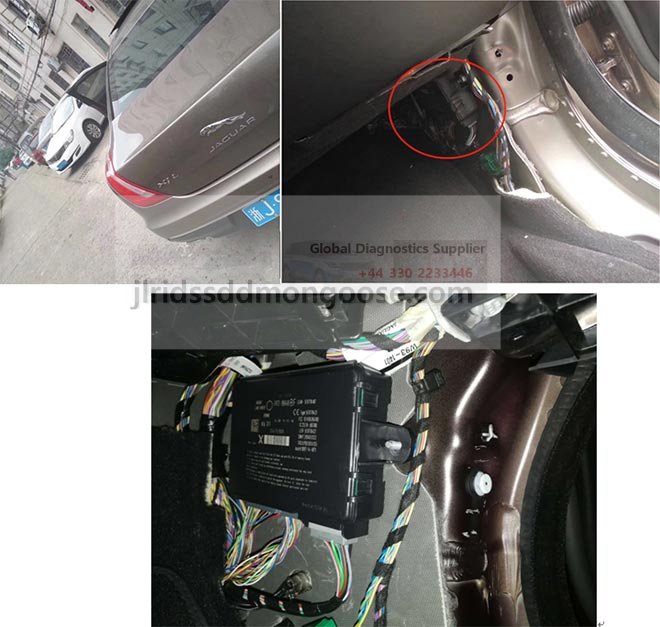
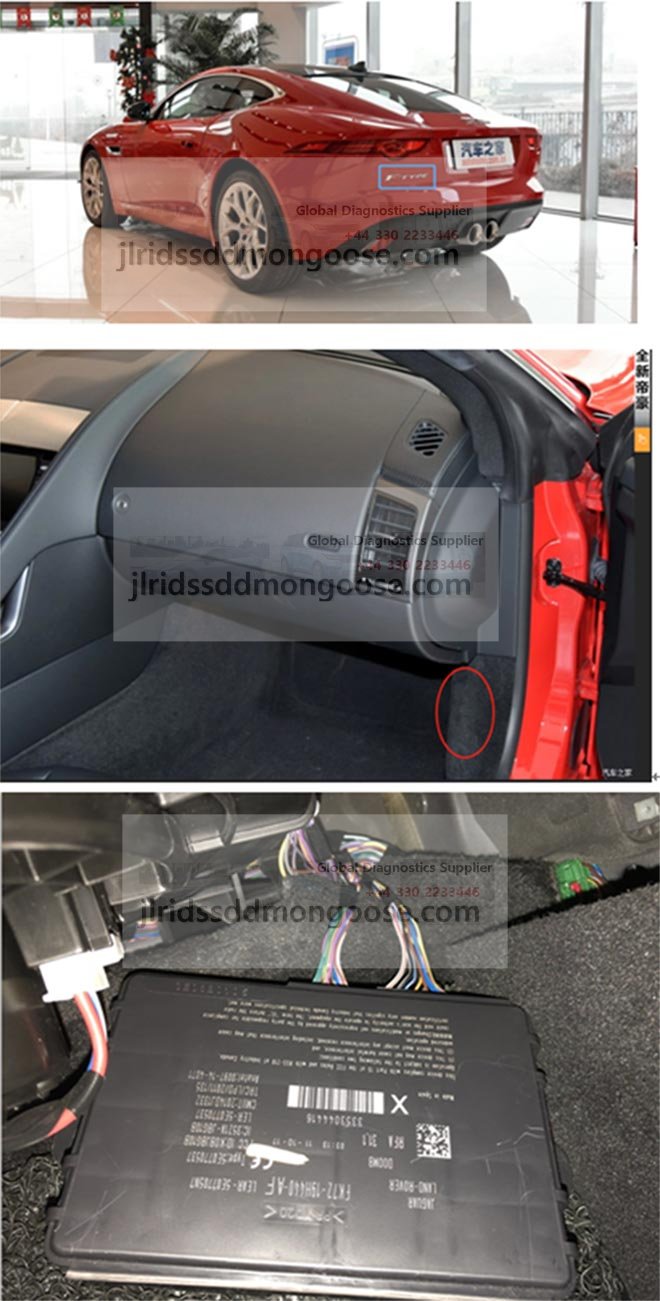
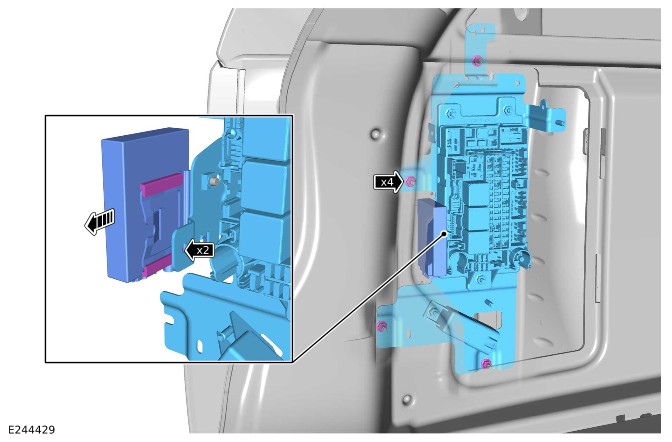
- Install the Remote Function Actuator (RFA).
- Install and tighten the 2 screws.
Torque: 1.9Nm
- Connect the 2 electrical connectors.
-
- Install the Rear Junction Box (RJB).
- Install and tighten the 4 nuts.
Torque: 9Nm
- Install and secure the Fuel Fired Booster Heater (FFBH) receiver.
-
- Connect the 11 electrical connectors.
- Secure the 6 clips.
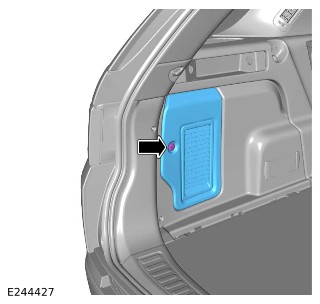
- Install the access cover.
- Connect the startup battery ground cable.
Refer to: 12V System Disconnect (414-00 Battery and Charging System - General Information, General Procedures).